Connect your WordPress site
Checkin Signals publishes every check-in your crew makes as a page on your own WordPress site. A small plugin makes that possible. Setup takes about five minutes and you only do it once.
Before you start
- A login to your WordPress admin with the Administrator role.
- WordPress 6.4 or newer, and a site address that starts with https://.
- Your Checkin Signals dashboard open in another tab.
Step 1: Download the plugin
The plugin comes as a single file named signal.zip. Don’t unzip it, WordPress needs the zip as-is.
The same download is on the WordPress page of your dashboard.
Step 2: Upload it to WordPress
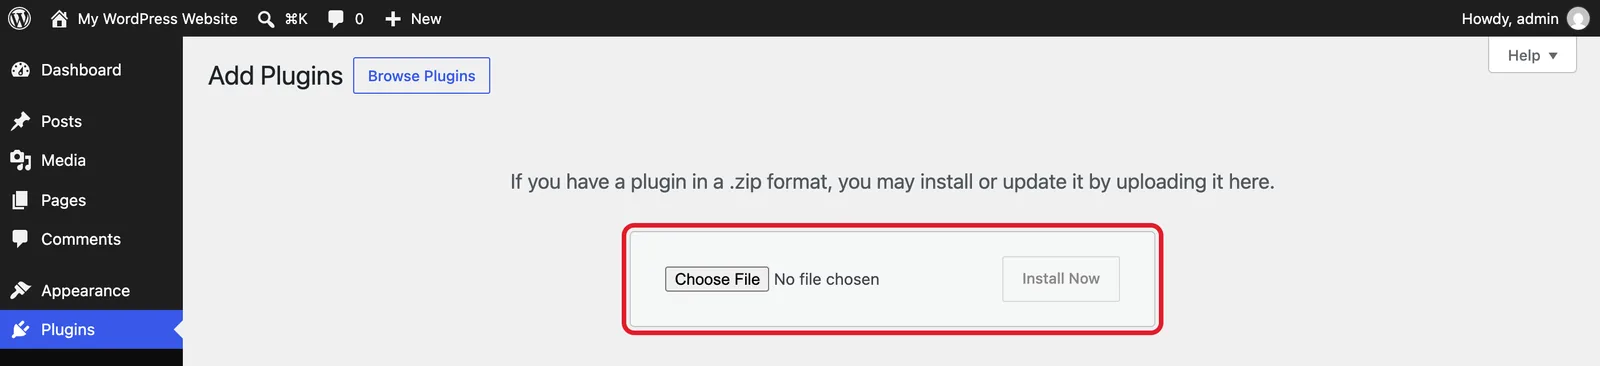
In your WordPress admin, go to Plugins → Add Plugin, then click “Upload Plugin” at the top. Click “Choose File” and pick the signal.zip you just downloaded.
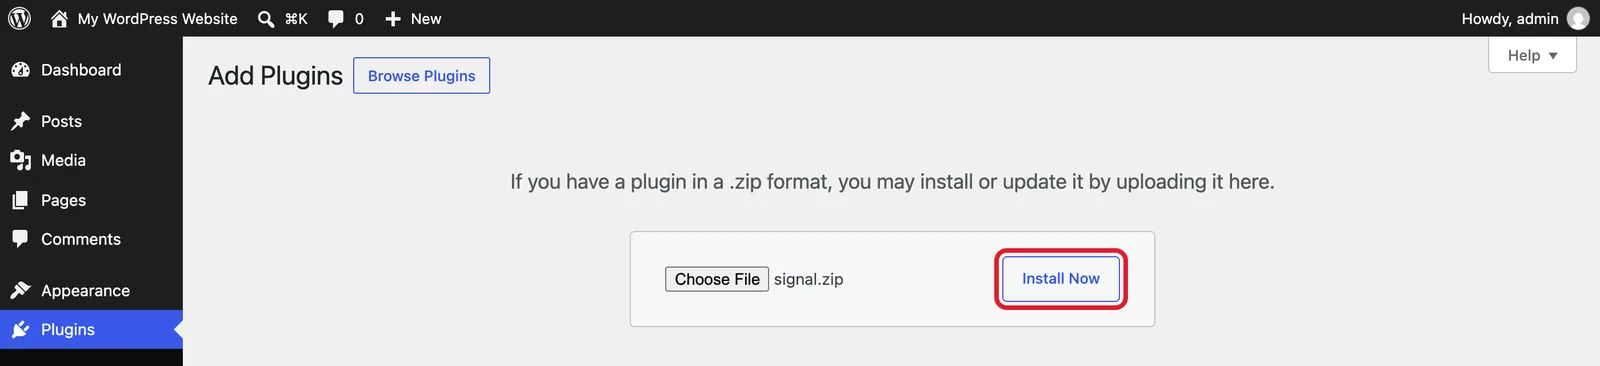
Click “Install Now”.
Updating an older version? WordPress asks what to do with the existing plugin. Choose “Replace current with uploaded”.
Step 3: Activate it
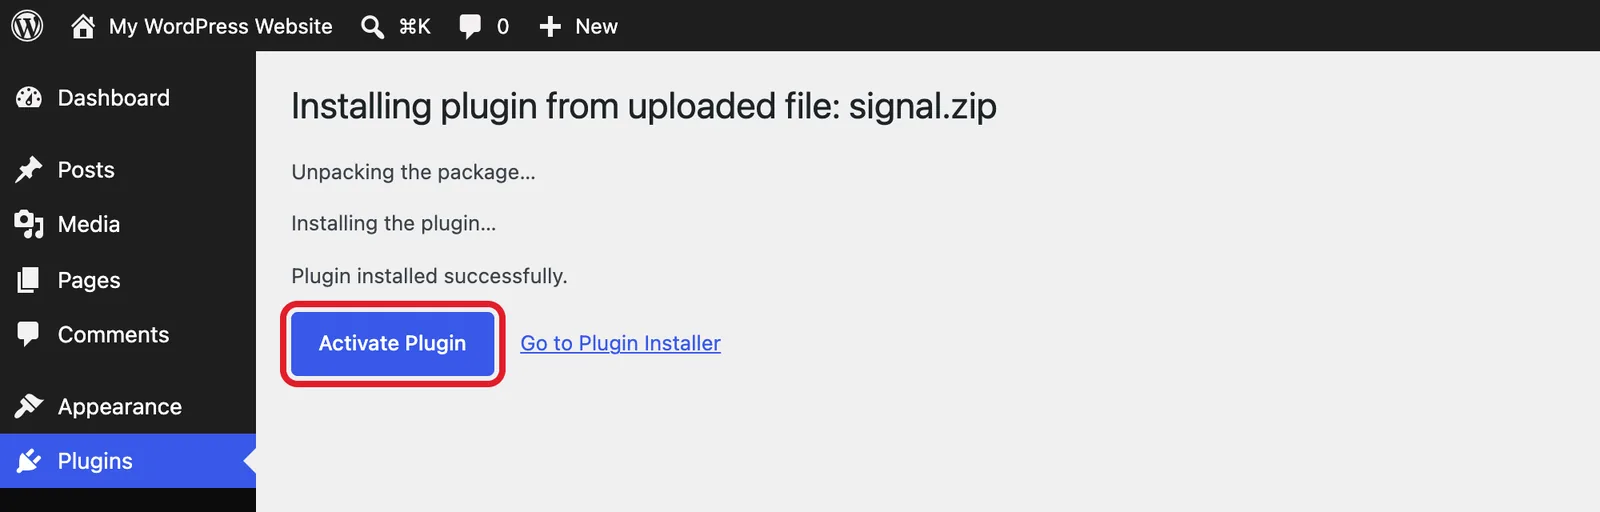
When WordPress says “Plugin installed successfully.”, click “Activate Plugin”.
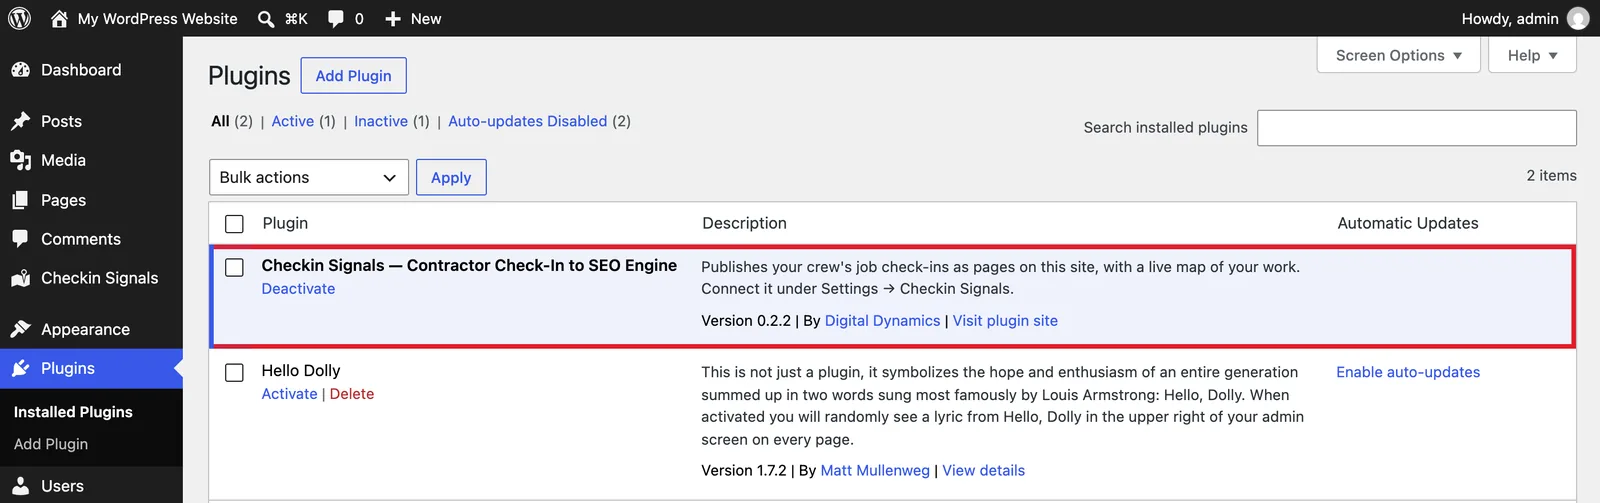
You’ll see Checkin Signals — Contractor Check-In to SEO Engine in your plugin list, and a new Checkin Signals item in the left menu.
Step 4: Get your Tenant ID and Pairing token
In your Checkin Signals dashboard, open WordPress in the left menu. Type your site address (for example https://yourcompany.com) and click “Connect”.
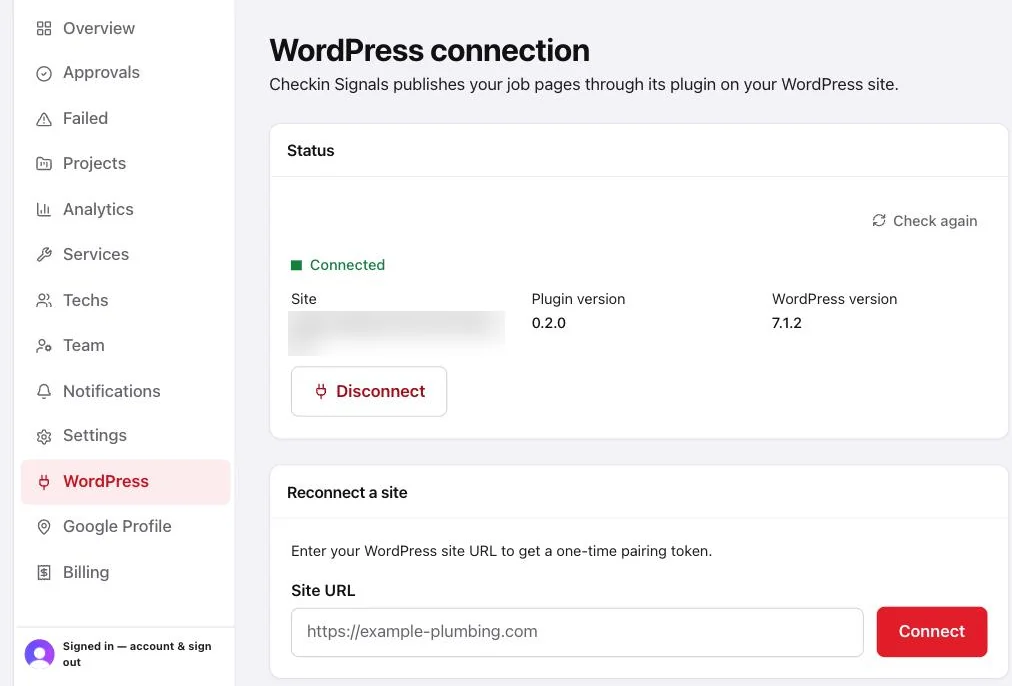
The dashboard shows two values: a Tenant ID and a Pairing token. Use the “Copy” buttons so nothing gets cut off.
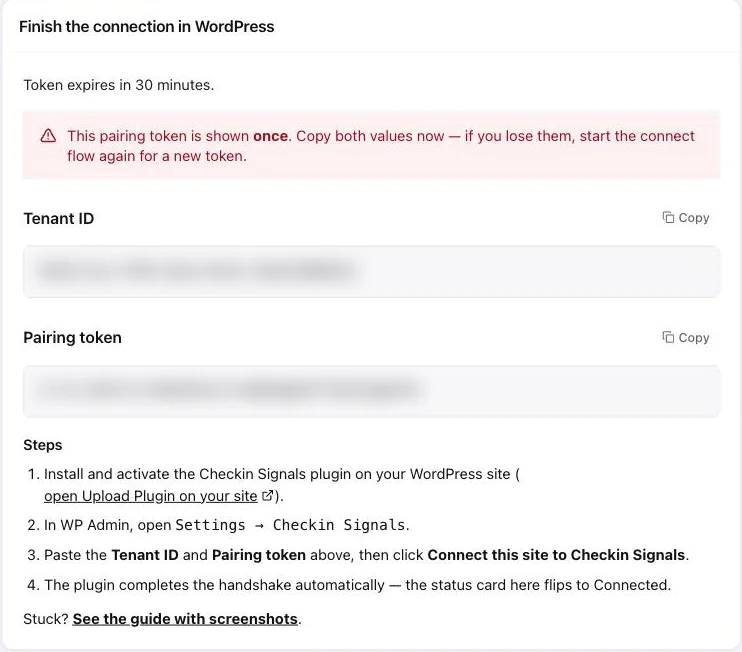
The pairing token is shown once
It works one time and expires after 30 minutes. If you lose it or it expires, click “Connect” again for a fresh one. A new token cancels the old one.
Step 5: Paste both values into WordPress
Back in WordPress, go to Settings → Checkin Signals. Paste the Tenant ID and the Pairing token into their boxes, then click “Connect this site to Checkin Signals”.
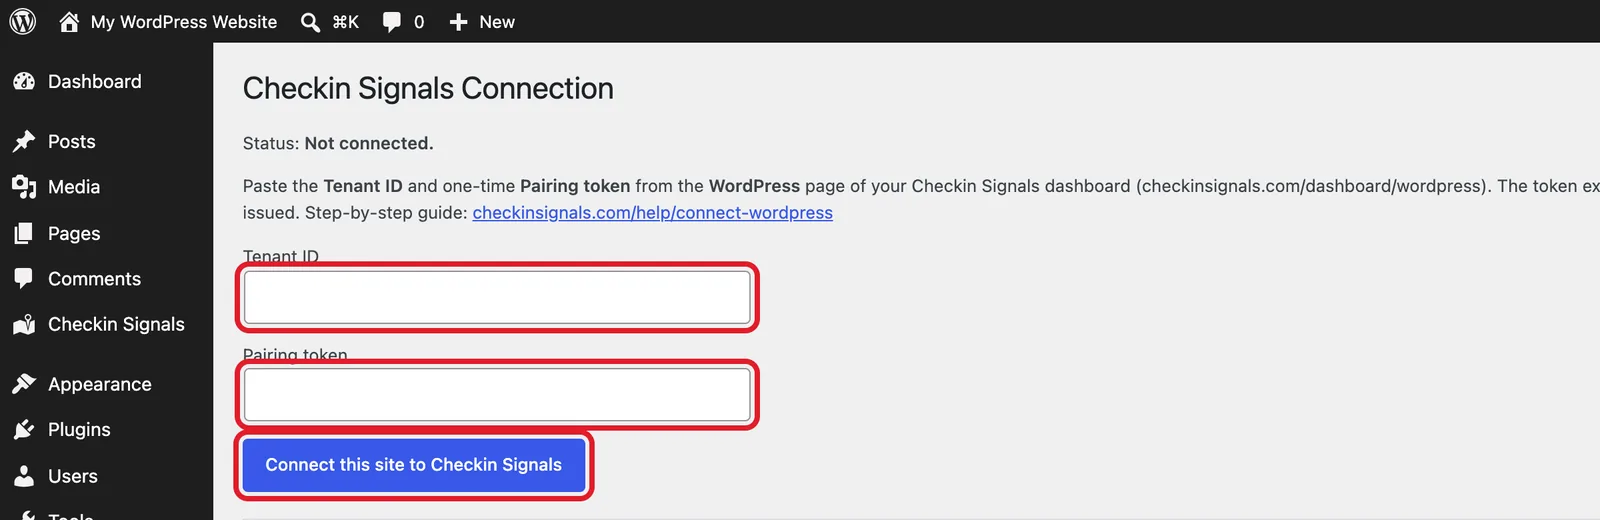
WordPress confirms with “Connected. Pages can now be published from Checkin Signals.” It also creates a Check-Ins map page and adds it to your main menu.
Step 6: Check the dashboard
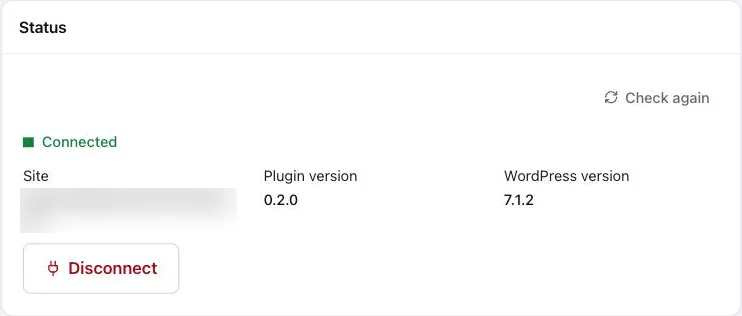
Your dashboard’s WordPress page checks the connection every few seconds. Within about ten seconds the status changes to Connected and shows your plugin and WordPress versions. You’re done.
What the plugin adds to your site
- A live map page at
yoursite.com/check-ins/, linked in your main menu. It updates by itself as new jobs publish. - A page for every check-in at
yoursite.com/projects/city/job-name/, with your crew’s photos, the tech’s name and a call button. - A layout choice under Settings → Checkin Signals → Page layout. The default matches your theme’s header, footer, fonts and colors.
Missing the map page, or it shows “page not found”? Click “Create / repair the Check-Ins map page” on the same settings screen. You can also place the map on any page with the shortcode [signal_map].

If something goes wrong
- WordPress says “Checkin Signals responded with status 403 — Invalid or expired pairing token.”
- The token was already used, expired after 30 minutes, or a newer one replaced it. Click “Connect” in your dashboard for a new pair and paste both values again.
- WordPress says “responded with status 422”.
- One of the values was cut off or has an extra space. Copy them again with the “Copy” buttons.
- WordPress says Connected, but the dashboard still says Not connected.
- Checkin Signals connects to your site to publish pages, and something is blocking it. Check these, then click “Check again” in the dashboard:• Security plugins (Wordfence, iThemes, Solid Security and similar) must allow the WordPress REST API and Application Passwords.• Settings → Permalinks must not be set to “Plain”. “Post name” works well.• Your site must load over https://.
- WordPress shows a timeout or “cURL error”.
- Your web host is blocking outgoing connections. Ask them to allow your site to connect to
checkinsignals-api.fly.dev. - The map page didn’t show up in my menu.
- Some themes name their menus differently. Add the Check-Ins page yourself under Appearance → Menus.
- How do I disconnect?
- Click “Disconnect” on your dashboard’s WordPress page. Publishing stops, and pages already published stay up.
Next: get your crew set up with the phone app install guide, or browse the Help Center.